How to draft basic body sloper
Instructor : Savitha
Skill Level : Beginner 00:12:25
Views (11488)
Rating (23)
Class Description
We have lots of free tutorials to help you start your journey in the world of sewing. The classes are designed to help beginners to comfortably start sewing your own clothes. With our free tutorials you can learn from using the sewing machine to completion of a garment. Also learn making bolero jacket with invisible seams, salwar pants, attaching zipper, plackets and many more.
There are classes on tips and tricks of sewing which would help you to sew in an easy and professional way.
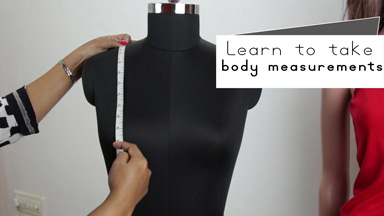
In this class, learn application of measurements. Learn to draft the basic body sloper using the body measurements you have taken.
While drafting the body sloper, apply the measurements that you have.
Class details
| Class 1 - Drafting body sloper | 00:12:25 |
Please login to submit your questions
A :
From shoulder measure to the highest point of the bust. For bust round 40", it can be around 10.5" or 11".
A :
I am good thanks.
Yes you may apply the same theory for 11 yr old too.
A :
I am good, thanks. Hope you are fine too.
You may divide the chest round by 12 and keep that as the neck width. Shoulder slope can be kept around 1/2 to 3/4".
A :
By Armround/biceps measurement. Kindly watch the class on taking body measurements where taking both armround and armhole measurements are shown.
A :
Hi,
On bust we do not give ease as it gets enough ease when you add ease on chest and waist. When you connect from chest to waist, the bust should be accommodated within the side seam line.
A :
We follow the straight method but you can measure cross too. Whichever way you take the measurement on body is how you should apply on pattern.
A :
Very good day to you.
When you make a fitted garment with darts it is important that the vertical measurements like Bust point is marked accurately. Hence the measurements were marked from the shoulder slope. You may do the same for a basic kurti/dress too. However, slight difference in a loose garment would not make much difference.
A :
Hi,
Even for a 11 year old you can follow the same. May be reduce the shoulder slope to around 3/4".
A :
If both necklines are deep, there is no support for the dress at the neckline and can drop. Hence the shoulder is reduced. Please watch our class on "Deep neckline Theory" to know how much to reduce.
A :
Not necessary. Mark according to your measurement.
A :
Hi,
Once you decide the neck depth, accordingly reduce the shoulder measurement [as taught in our Deep neckline theory tutorial] and mark the shoulder. First mark the basic neck width and 7.5" on the shoulder line and draw the shoulder slope. Then mark the reduced shoulder measurement [as per deep neck] and at that point draw the armround line downwards.
A :
Hi,
That's alright. When you measure the front and back curves if you get your armhole measurement plus a little extra, it will be fine.
A :
Hi,
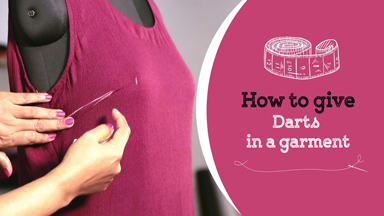
It is shared in the last part of our Class 1 of Kurtis foundation course [How to give darts in a garment].
A :
Please watch our free tutorial on "Deep neckline theory". The link is below:
A :
Yes, you need to do it for sleeves too but after drafting sleeves, measure the front and back curves and see if it matches with the body pattern.
A :
Hi,
First step towards making a well fitting garment is taking accurate body measurements. Kindly double check your measurements and also check if they are marked correctly on the pattern.
A :
Answered in your similar other query.
A :
Thanks for your kind appreciative words. Kindly take sometime to post a review/rating below the class.
A :
Hi,
Armhole and sleeves drafting is shown in our free tutorials. If you have not yet watched our free classes, you may start with the FREE BEGINNERS COURSE under ONLINE CLASSES - BUNDLE DEALS. After that you may start with the Kurthis foundation course Class 1 - How to give darts in a garment.
A :
Hi,
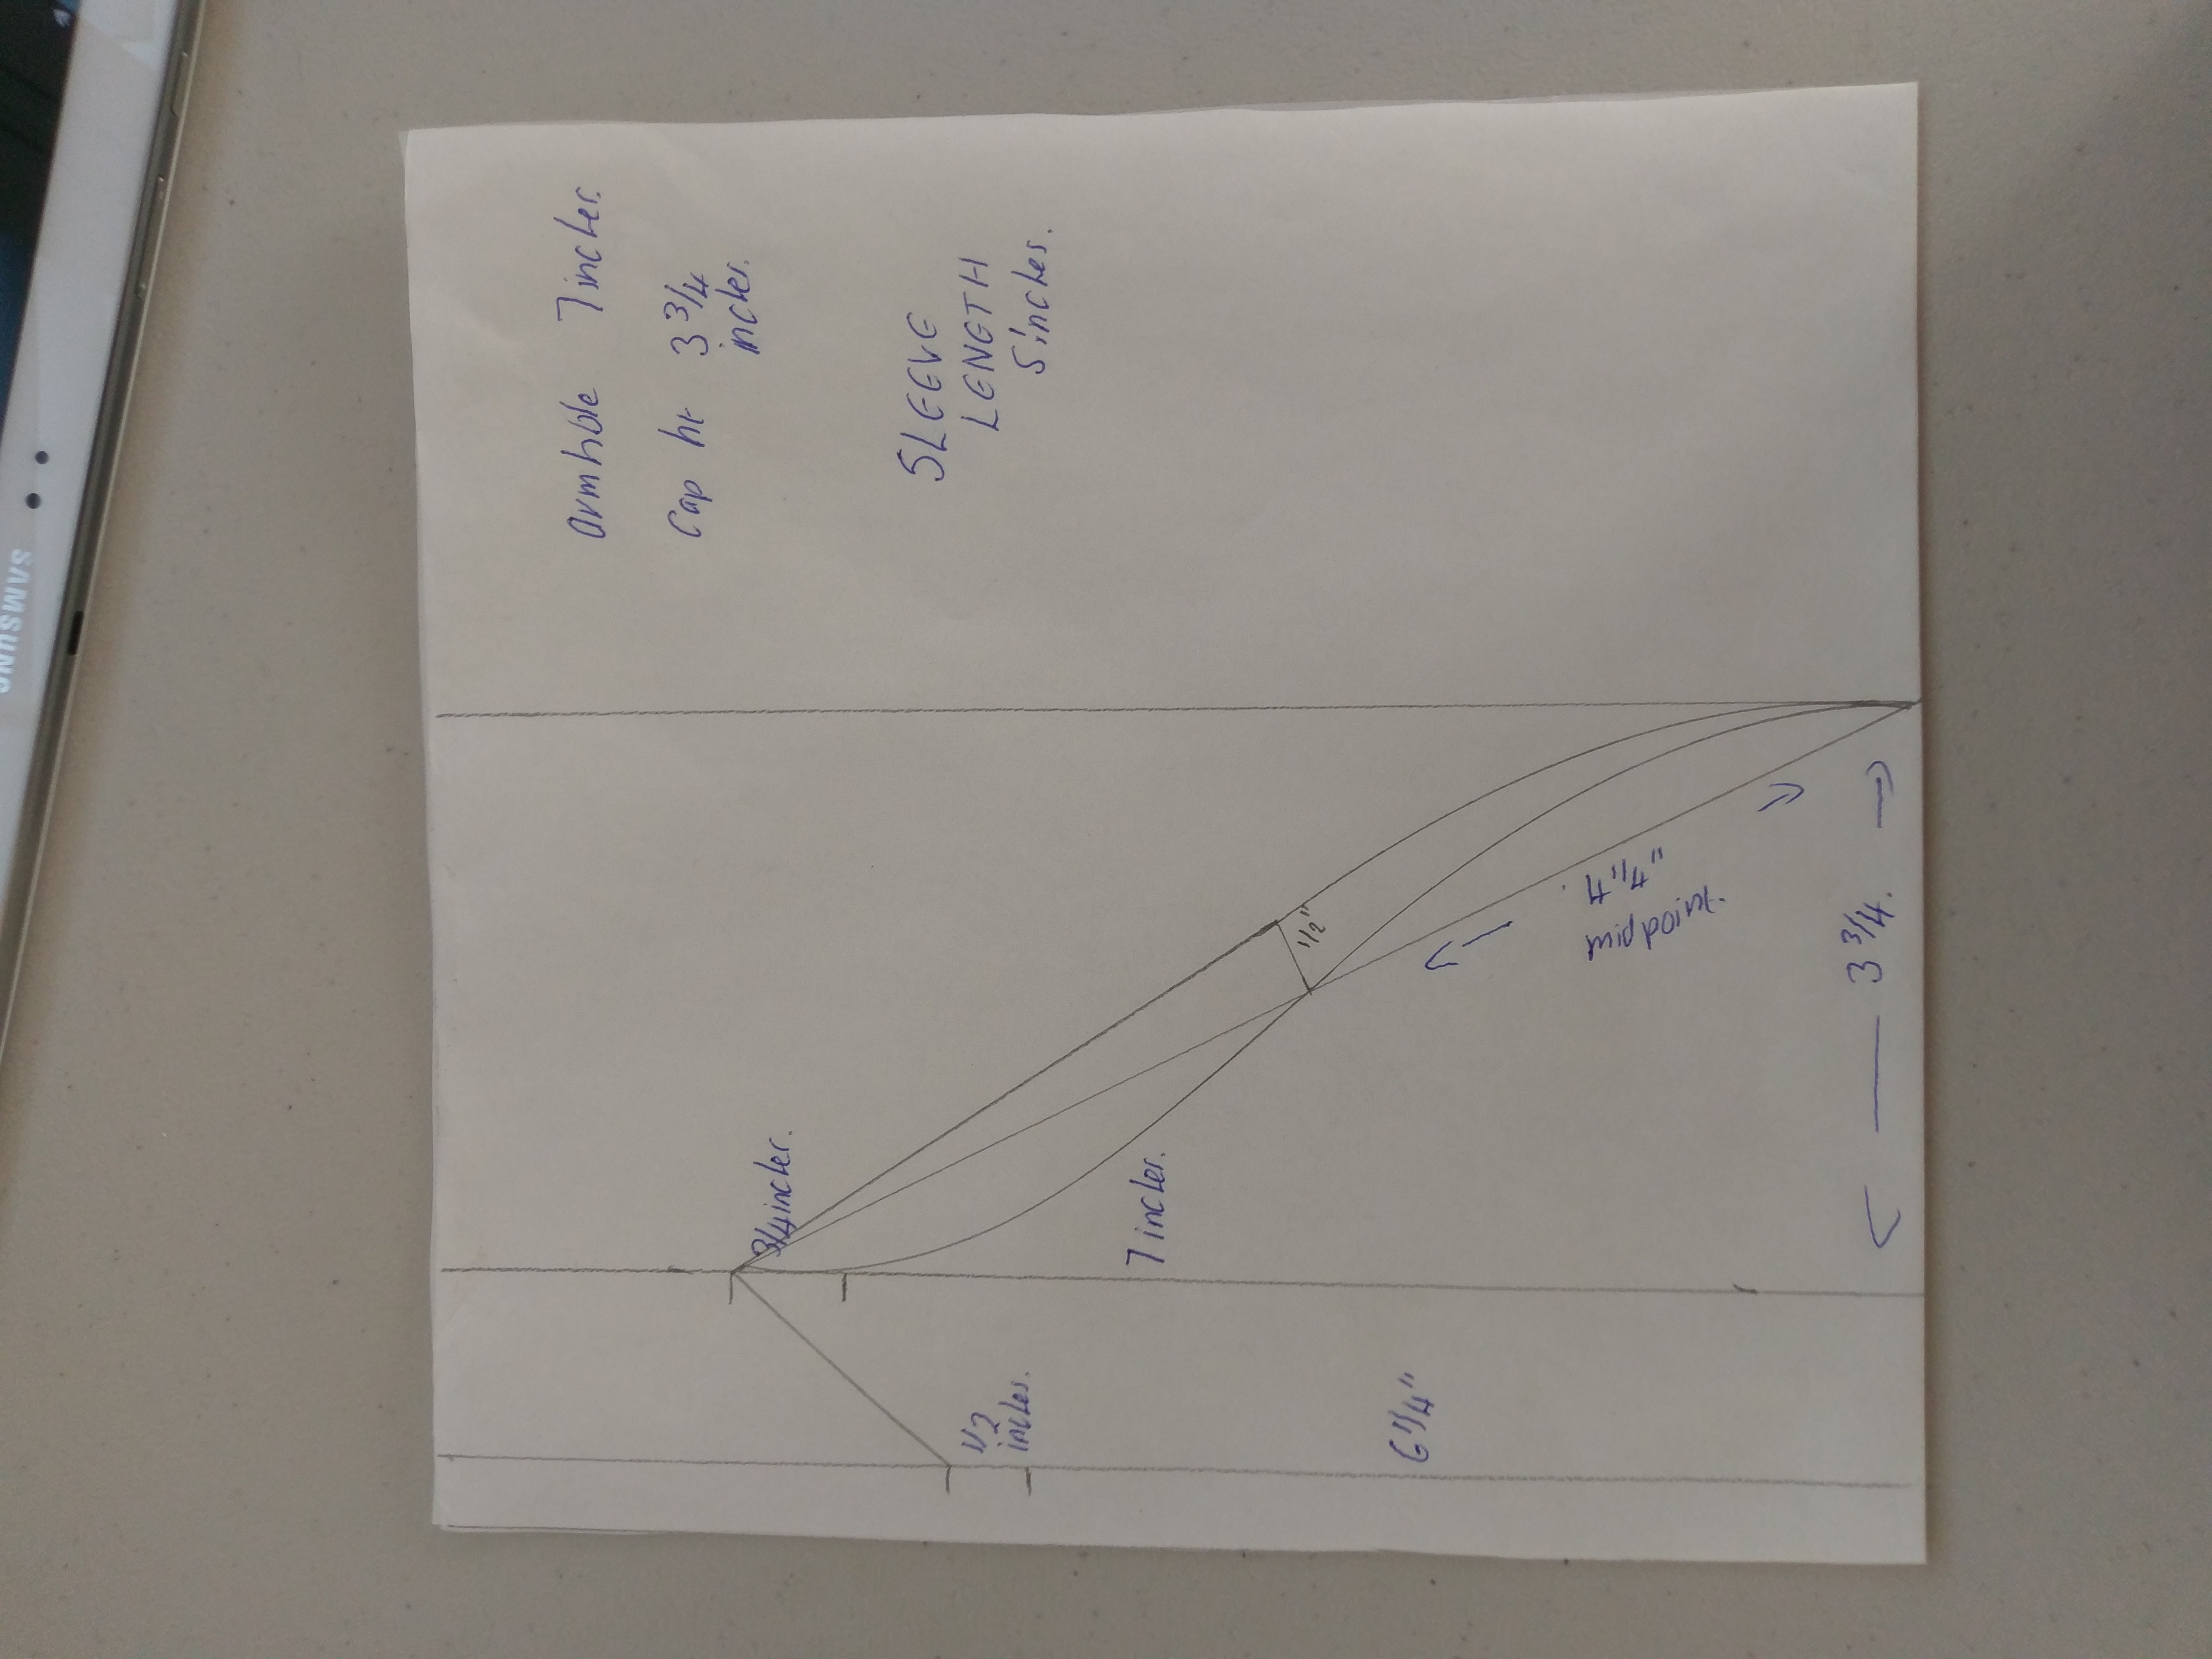
Always after drafting the body pattern, measure the front and back armhole curves and see if it matches with the body armhole measurement plus ease given on chest. If less/more, shift the chest line down/up and redraw the curves. After that draw the sleeves pattern and again measure the front and back curves and see if it matches with the body pattern. If less/more, increase/reduce the ease and redraw the curves. The way you have drafted looks fine, however, you may need to increase or decrease the ease to match with the body pattern.
A :
You need to apply 1/2 of your arm round measurment [biceps] not armhole.
A :
Big set square is available in the SUPPLIES section of our website - https://www.savisfashionstudio.com/supplies/excellent-quality-big-size-acrylic-set-square
Smaller set squares are also part of our pattern making kit.
A :
It is called pattern paper. It is similar to brown book binding paper [without laminate] but longer and wider. You may buy these pattern sheets on our website under SUPPLIES section. The link is here: https://www.savisfashionstudio.com/cart/search/6af41e6d694fb34289a68121e2651f3c
However, you can also use any other paper for drafting the pattern. If the paper is not wide and long you may join two or three sheets using cello tape.
A :
You are welcome.
The arm round would be approximately 13.5" and armhole 17.5". Sleeve length is 5- 6" and sleeve open can be kept at 12.5".
A :
Hi, thanks for your appreciative words.
This is not a real life scenario, however please let me know the bust round of the dummy. Based on that will tell you the approximate arm round measurement.
A :
Hi,
Are you sure the neckline isn't stretched which may be causing the gaping? If that is the reason, an easing stitch at the neckline [as shown in our free class on fixing a stretched neckline] should resolve the issue.
3/4" is the standard we take at mid armhole which suits most women. However, if when you see the person you are making the garment for has a shoulder more bent towards the front [which may cause a hollow chest] you may need to take some additional measurements like the front measurement from chest centre to mid armhole of one side by which you will know if you need to change the 3/4".
FAQ'S
1] How do I enroll for premium classes?
Click on the class you wish to take and 'ADD TO CART'. You would need to SIGN UP/LOGIN if you have not yet done. Then 'CHECKOUT' and select the payment method. Give your payment details and once the payment is successful, you would have access to the class.
2] I have paid for a class, now how do I view it?
Login and click on 'My courses' on top. That will show you the number of classes you have taken. Click on the class you wish to learn from.
3] How do I ask questions if I need any clarification regarding the premium class?
Click on the Q & A tab below the video, type in your question and submit. We will reply at the earliest. When you receive the reply you will get a notification alert and the reply will be below your question under the respective class.
4] What is the validity of a premium class?
The validity of the class is 1825 days that is approximately 5 years from the date of enrolment. You will be able to view the class any number of times, any time of the day and on any suitable device, within this validity.
Students Project
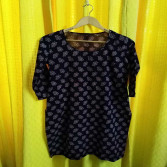
Basic Kurti
By Chetna Roopen ShahStudents Who Viewed This Class Also Viewed
About the Instructor
 14169 Students
95 Courses
Savitha
Instructor Profile
Ms. Savitha has been conducting classes in Pattern making and sewing since the year 2010. She started with her Online classes to reach out to more students. Her words, "I love sewing and teaching and I have been lucky to be able to make my passion, my profession. I try my best to simplify things and teach in a simple and easy way so that even beginners in pattern making and sewing are able to learn from our online classes and make their garments with professional finish".

